

Hubby's new board!
Here are the materials you will need:
Heavy Duty Canvas Drop Cloth
Home Decor Fabric or Outdoor Fabric for a nose piece
Heavy Duty thread
Jeans needle for your machine
Shoelace or rope for a drawstring
First, fold your canvas drop cloth and lay it out. Place your surfboard on top.

Starting at the nose, cut an outline approximately 3 inches bigger than your board. When you get to the widest part of your board, cut straight down to 4-6 inches past the tail, you will be adding a drawstring casing at the bottom.
Next, use the nose half of the canvas you cut out to trace it's shape onto the Home Decor/Outdoor/Decorative Canvas fabric, mimicing the curve of the nose about halfway down the surfboard and cut out 2 pieces.
(I forgot to take a pic of this, sorry!)

That striped fabric is going to be the nose piece.
Now pin each of your nose pieces to each piece of canvas, making sure you line up the top end. Top stitch your nose pieces to the pieces of canvas. You should now have 2 pieces that look kinda like ginormous fingers with nail polish.

See? Fingernails!
Now put your two pieces right sides together and pin. Did I mention this surfboard is 10 ft long?! I used a ton of pins! Sew around the entire bag, leaving the bottom open.
This last part I totally forgot to take pictures of too, yeah, I know, but it's my first attempt at a tutorial ok? Anyway, I showed the steps on a scrap piece of canvas.
Making the casing for the drawstring.
Make a 2 inch cut in the center of either the front or back bottom open end of your bag. Then cut 1 inch to the right and left perpendicular to the first cut. It should look like a T. Fold the tabs to the sides away from each other, then fold the whole thing up and pin.

Sew your casing, thread your shoelace or rope through, and you're done! I taped my shoelace to a pencil to make it easier to pull through the casing.
The Surfboard Sock

If you don't want to make your own, these are available in my Etsy shop, MissNicoleCreates, as a special order!
Did I mention this board is 10 ft tall? I did? Well, as big as it is, it still only took me about 2 hours to finish, and that's with kids distractions! So I'm thinking it's even easier on a smaller surfboard. I'm planning on making a girly one for my oldest daughter. Hubby surprised her with her first surfboard as a kindergarten graduation present!
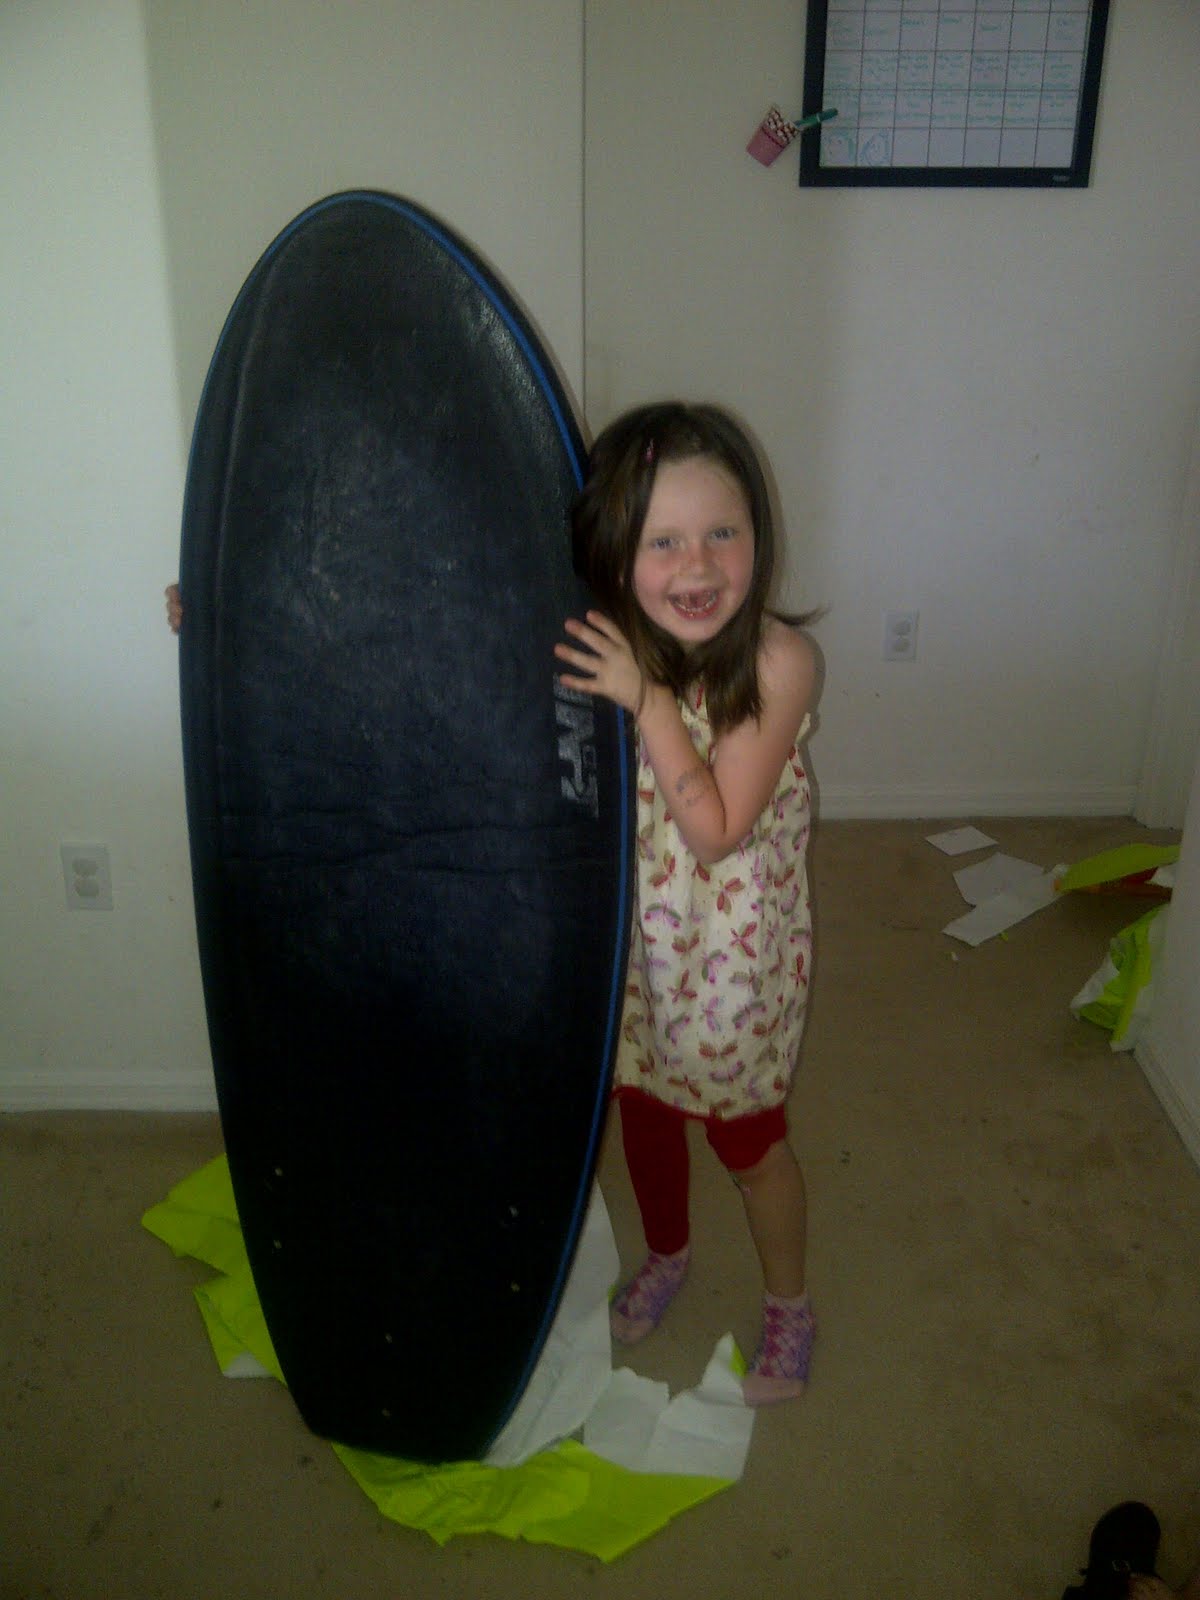
Umm....think she was excited?


No comments:
Post a Comment
I'd love some feedback! Unless you're being mean...